"How do I edit my IPhone pics?"
OK ... so, most of us have some kind of photo capability on our phones. I have an IPhone 4 and am finding an amazing freedom in its built-in camera ... I mean, who wants to lug around a massive SLR camera everywhere I go?? Not me ... and yet - to not be able to capture a moment because I'm camera-less? Nope. Don't want that either.
OK ... so, most of us have some kind of photo capability on our phones. I have an IPhone 4 and am finding an amazing freedom in its built-in camera ... I mean, who wants to lug around a massive SLR camera everywhere I go?? Not me ... and yet - to not be able to capture a moment because I'm camera-less? Nope. Don't want that either.
The truth is, you can capture pretty descent pics and edit them, share them, even print them (once they're uploaded) - all from your phone. But you already knew that, right? Of course you did.
But I thought I'd take a few minutes and just show you what it can do. Now, please bear with me. I have a habit of deleting original images once they're edited - so my choice of pics to show you the "before" and "after" of, are slim.
I've been using two apps on my IPhone for editing. First, Instagram. Everyone loves Instagram ... it's free and you can have "followers" who can see your images as soon as you edit and upload (great for family and friends) ... but I don't do that. I use it strictly for its editing capabilities - not for its sharing capabilities.
First - you need the app. Then you need to open it *grin*. Then, you need to choose an image from your camera roll (or take a pic with the camera in the app) and here's what it should look like ...
My pic. That's still on my phone. Christmas ... don't judge me. *grin*
Before you edit, it kinda urges you to crop your image. Here is where you can experiment because the app doesn't delete your original, it saves the new image on its own - so have fun. Try something different, a cool angle, a new perspective.
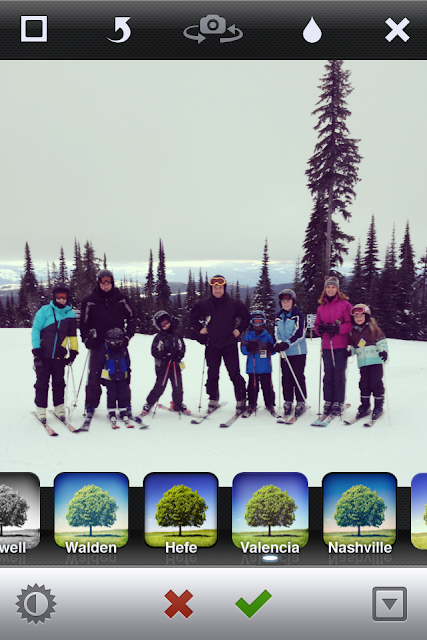
Here's a screen shot of what the pic looks inside the app. Those thumbnail pics are different editing options ... now - you don't have PS (PhotoShop) detailing, but they're still pretty cool.
Pick one, click the check mark ... and voila. The end result. NOW ... one thing I DON'T really like about Instagram is how it crops in a square ... cool for online, not so cool for printing. But whatever ... you don't have to crop if you don't want to.
Another original pic I found on my IPhone. Sun Peaks 2012 with mine and the "V" fam ... a group shot taken by some random skier-man. Not a bad shot ... but it needed to be cropped and lightened ...
So, I open Instagram, chose the image ... crop it. And pick "Valencia" as my editing filter.
And here you have it ... in about 20 seconds from start to finish ... Again - this is not a perfect image ... a bit blurry - but hey. I wasn't taking it *big wink*.
This is from Monday night ... my friend Shawna and I were off to see Lady Antebellum ... we were a wee bit excited. And we're kinda strange too *grin* ... The original:
... in Instagram (and I chose to NOT crop this one ...)
The result. Now. This is obviously not a perfect image (for so many reasons ...) - it's grainy, it's dark ... we look ridiculous. But you get the idea.
I also use Camera+ too ... it's an app, but you have to pay for it. It has more options than Instagram ... different lighting, plus editing filters, plus other things too ... It costs $1.99. Less than my fave vanilla-rooibos-tea-latte at 'Bucks.
Here's Hillary Scott ... letting me know that she "needs you now". Ahhh ... (drifting off here for a sec ...). So great.
... in Camera+, adjusting light/clarity.
... adding an editing filter.
And done.
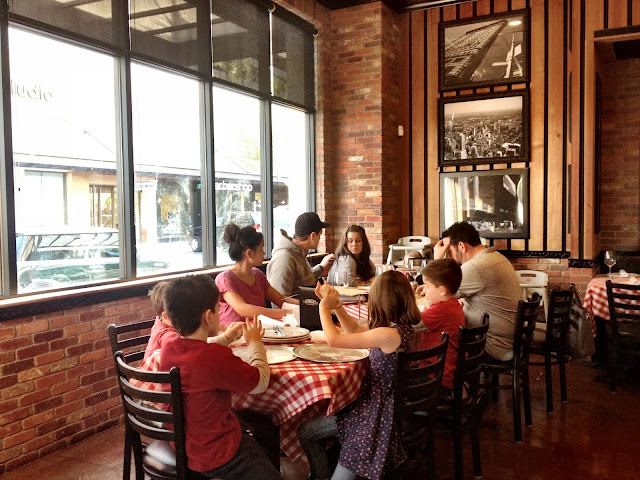
Again ... these are NOT the best images to show the process with. But here are a few pics that I've done from my recent Phoenix family vacay ... just the final product. You can see ... it's a pretty cool thing.
Oh wait!! Here's one ... Josiah in the pool.
Um ... I didn't crop it quite right - but you get the idea ...
And I also did it in B&W without cropping ...
OK ... some finished pics ... some cropped, some not.
This one, I used the "blur" on, to focus on SIah ... kinda fun. And I like to have fun *grin*. This also proves you can catch great "moving" shots too, if you're on top of things ...
Or close-ups.
Anything is possible ... any moment, able to be captured.
And most of the time, pics that aren't so perfect are actually the most interesting ...
Here's a cool one ... I blurred the edges in this one too - using Instagram.
OK ... I could go on and on. But I won't.
So ... there you have it. A post on how to make the most of your IPhone pics.
Helpful?
(for all inquiries, please head to my RedHanded Photography site HERE and click "get.in.touch." Thanks!)


Love this, although I'm not an Iphone user watching you use it is quite amazing! You're a pro Iphone photographer! Thanks for sharing - most of your photos from your phone are amazing, that one of you and your friend made me laugh, not sure why?!?!!?
ReplyDelete